
Crochet Cover for Kindle (Or Bluetooth earphone)
My updates have been somewhat less of late. I keep citing office work as the main reason, which is true. But I cannot keep saying the same thing. I need to find some time to sit and write somehow. Writing is relaxing and gets my mind off stuff. I know this and yet I don’t put in the effort 😐. So my colleagues and I went on a recent trip to the sea-side. Post the trip I am actually feeling less burnout. And this post is also a result of that trip. I finally got around to finishing one of my crochet patterns.
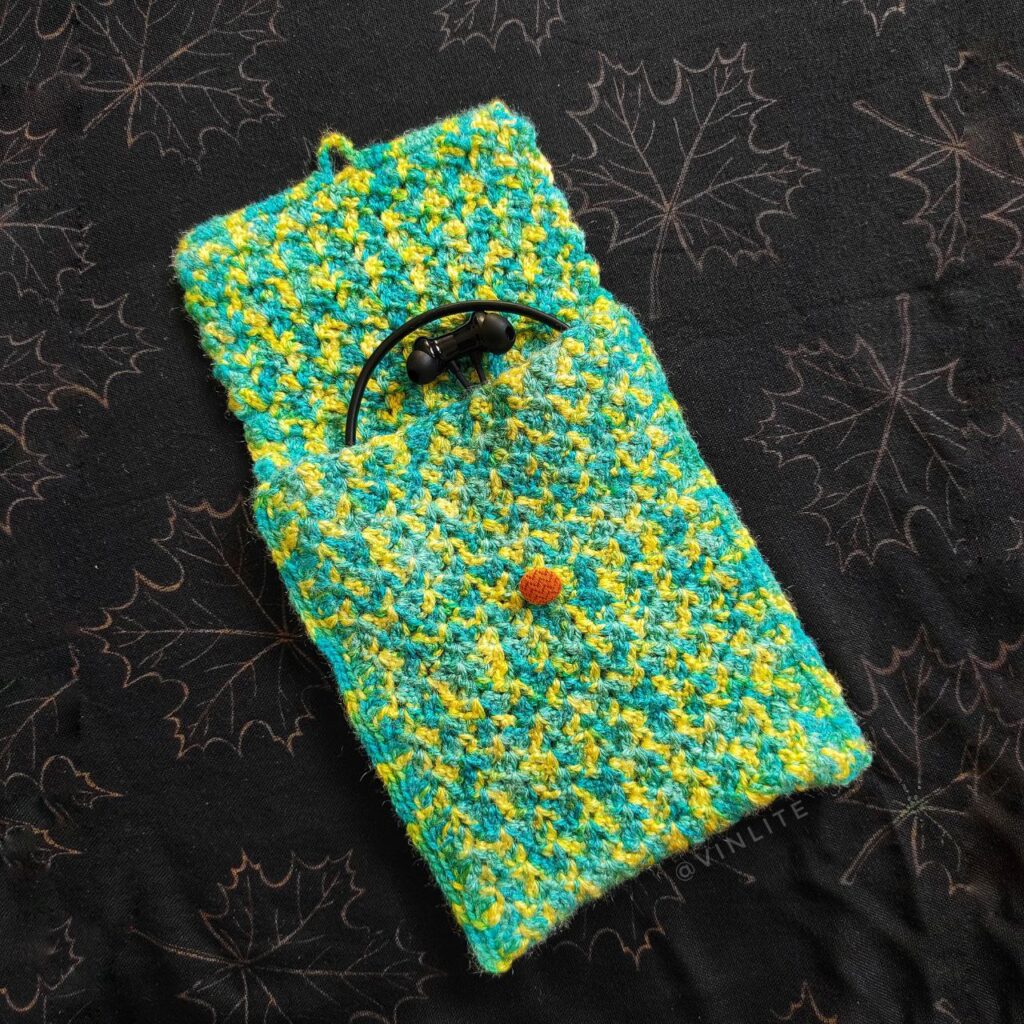
For a long time, I have been concerned about my bluetooth earphones. I don’t like earpods. I prefer the neckband type earphone. But the problem with this is both the wires get caught in my bag and gets ruined very easily. I cannot simply roll it up like normal wired earphones either. It is too big for that.
So when I saw this pattern for Mindless scarf on ravelry, I decided that I am going to make a cover out of this. Strange thing is, by the time I finished it, it fitted my kindle’s exact dimensions. Now talk about coincidence 🙂
Pattern: Customized Pattern (Source pattern Mindless scarf on ravelry)
Hook: 3.0mm
Yarn: M.G ENTERRPISE Knitting Yarn (Available at Amazon)

The main pattern follows the mindless scarf pattern. Follow the pattern till you reach the desired length.

Mark and decide where your sides will be. For example, in the above image, I had left some yarn on the left in the middle to mark where I want the end to come up on folding.
Sides & Joining
Next from one end start with * SC in the previous SC. 3 DC in the loop * repeat till end/place of closure.
Repeat the same on the other edge. Choose which end to start the stitches based on which is the right side of your work.
Once both edges are ready, fold your work so that the edges line up. SC in loop of both the edges, continue till you reach the end of the work where it curves.
If your stitch count was even, then after the last SC in loop of both edges, finish off.
If your stitch count was odd, then the last SC will be in only 1 loop, you can finish off from there.
Flap
For simplicity sake, I used a button flap.
from the place where you had the sides, follow the below pattern till you reach the other end.
* SC in the previous row’s SC, 3 SC in the loop * continue till you reach the center.
When you reached the center of the row, ch till desired length and join with sl st to the row after skipping a couple of stitches. (The number of skips depend on the size of your button.)
* SC in the previous row’s SC, 3 SC in the loop * continue till you reach the end and then finish off.
Sew in all the ends.
Choose a button which you can contrast with your colours. That should give it a pop.
And that’s it. You have it 🙂
The pattern above is a very rough draft. I just wanted to keep track of it for now. In future, I may expand up on this.
![]()
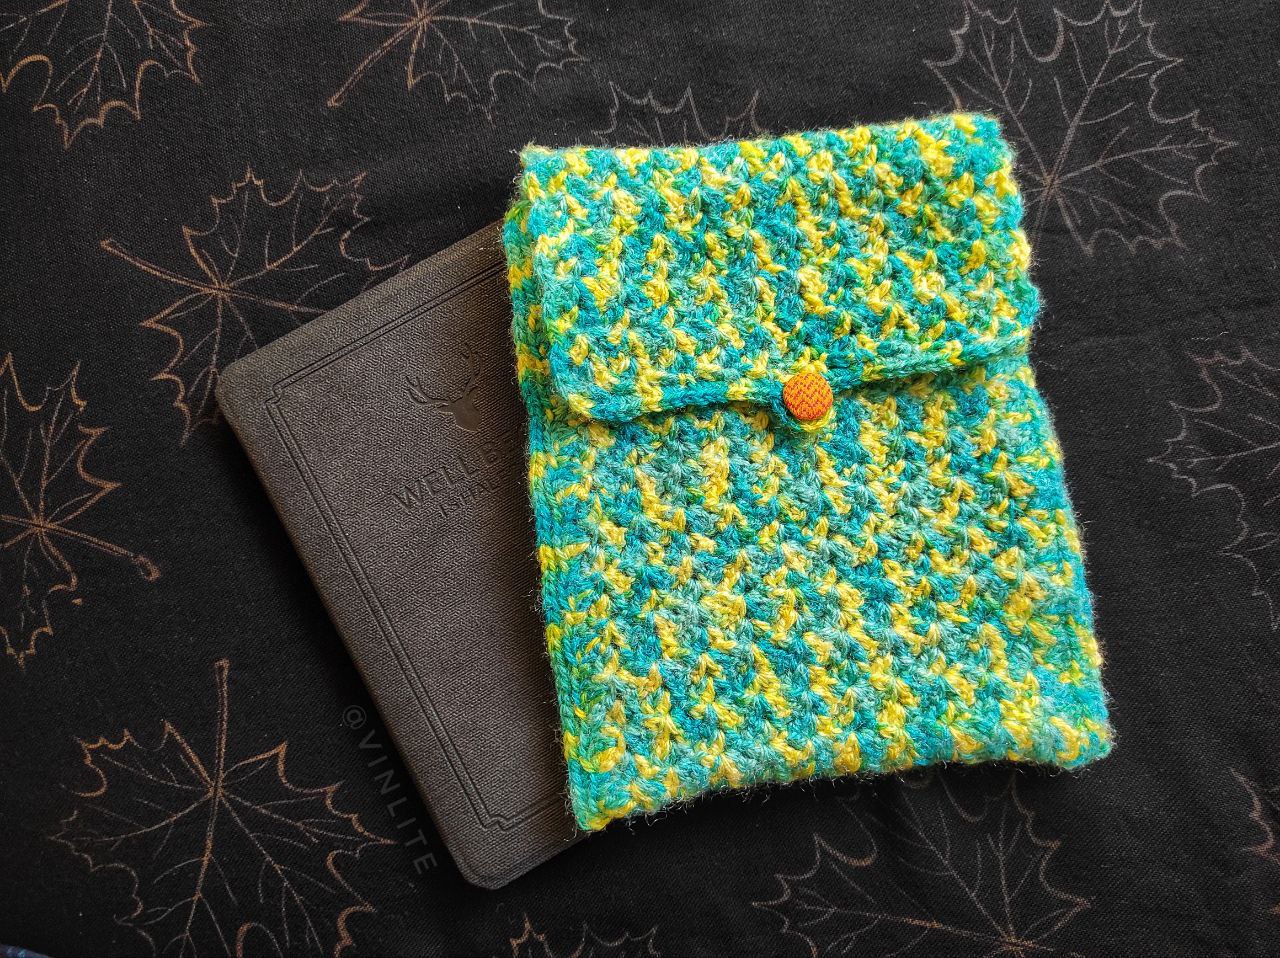
Crochet Cover for Kindle
And with that I conclude for now. Here’s hoping for more posts in the near future.


